If you are facing this quagmire, we advise that you take advantage of Microsoft’s guest account feature. This feature lets Windows 10 computer users set up a guest account for other people using their computer, so, when they occasionally come around to use your computer for work or any other reason, they’d be prompted to log into a guest account and will not be able to tamper with your files or computer settings anymore. In this post, we’ll be taking you through the steps to create a guest user account in Windows 10 and avoid sharing your profile with other users. Related Article: How to Set Up A Guest User Account On Your MacBook
How to Create a Guest Account in Windows 10
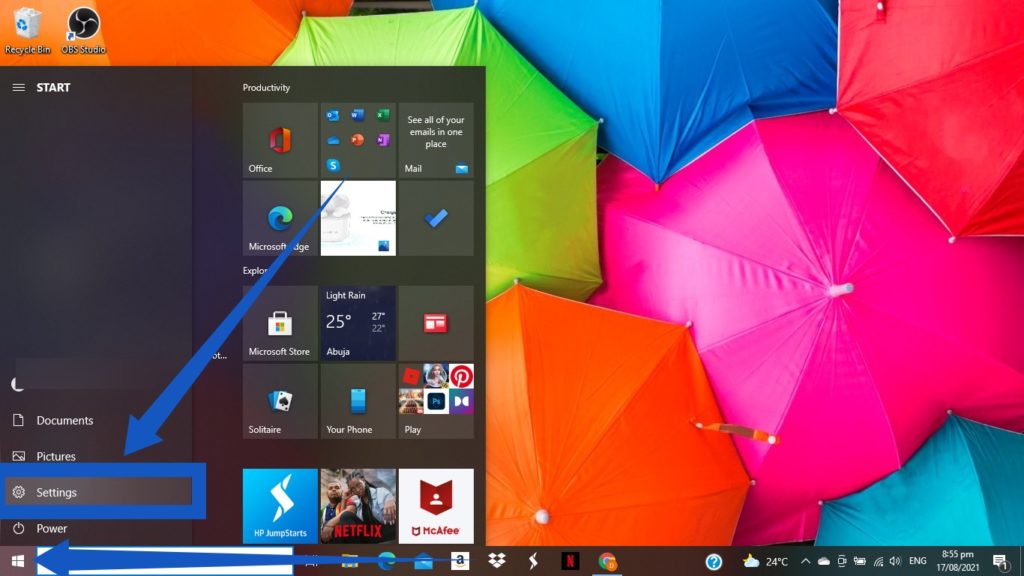
First thing you need to do is select Start (the Windows logo icon) at the bottom-left corner of your computer screen.
From the options desplayed, click on Settings
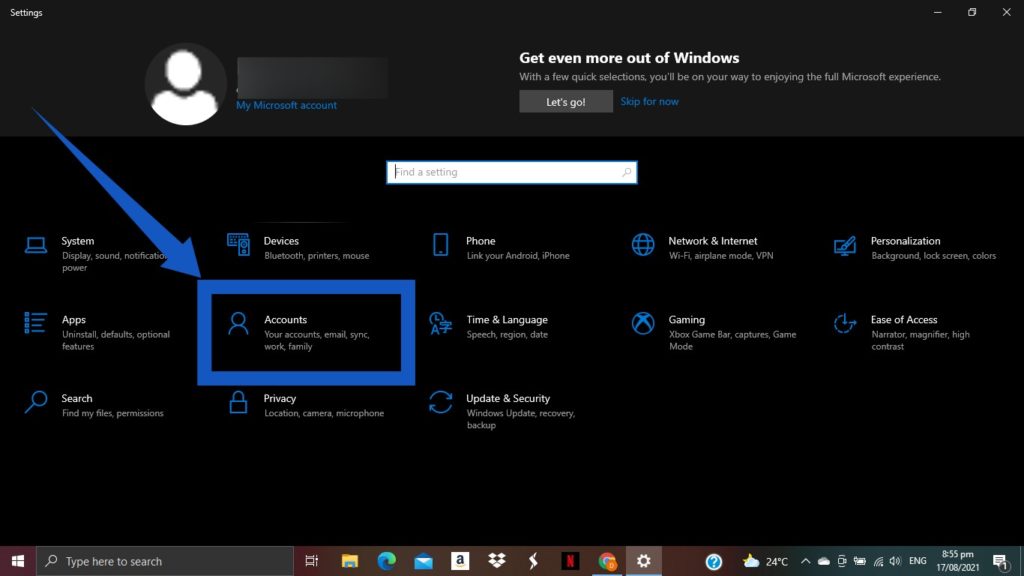
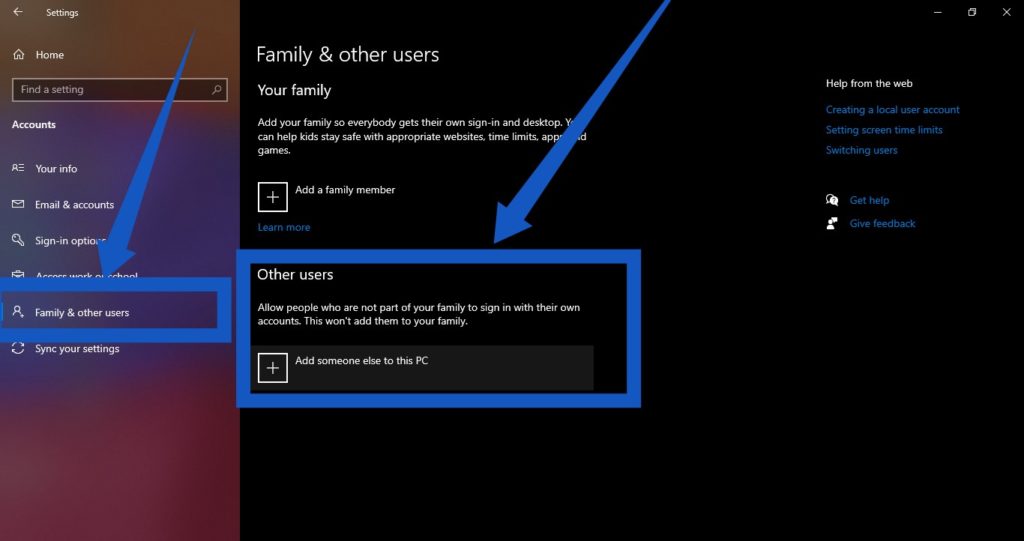
Then, select Accounts and then select Family & other users.
From the window that displays, select Add someone else to this PC.
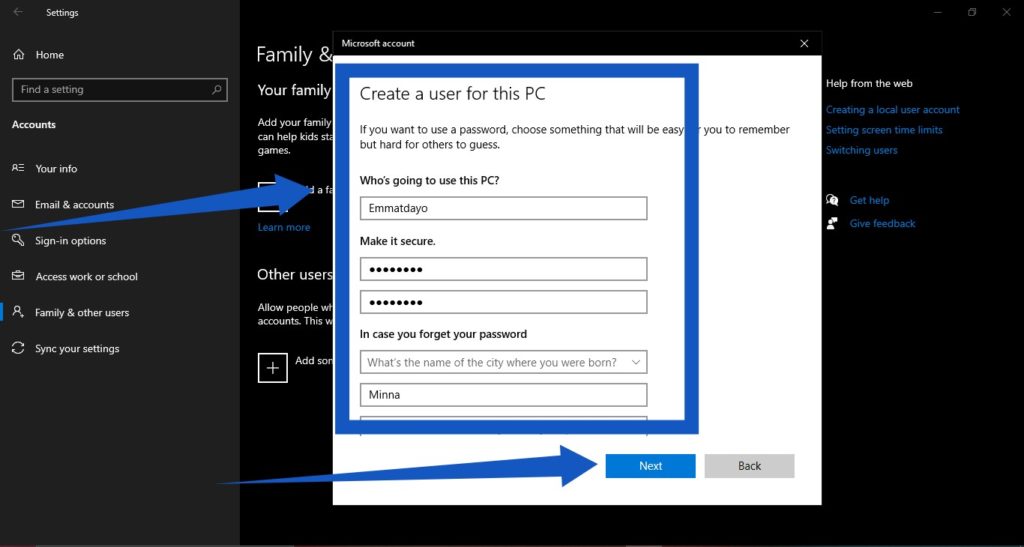
You will then need to enter a user name, password, or password hint. You will then need to choose security questions, and then tap on Next once you’re done.
Related Article: How to check for your WiFi password on windows 10
Conclusion
Once you have completed this process, your guest account will be created immediately. So, going forward, other users you share your computer with, will no longer need to log into your profile to work. A guest profile will appear when they attempt to log in.